How To Set Up A Secure Ubuntu 16.04 Temporary Live Boot Session For Handling Private Keys And Other Bitcoin-Related Tasks

Introduction
For those who care deeply about their computer security and/or those holding a non-trivial amount of value in Bitcoin over time, a daily-use PC is likely too insecure as an environment to be used for performing these cryptographic tasks. Hardware wallets are a good compromise between convenience and security. However, there are reasons why you might need more direct access to your keys, such as performing the task of claiming forked bitcoin value. Bringing your private keys or seed phrase onto an insecure PC defeats the security advantage of the hardware wallet and is generally inadvisable.
Temporary Operating System
As a compromise, some of the security properties of a hardware wallet can be preserved by running a temporary session of a Linux-based OS. This solution will run only open-source software from a known source to reduce the risk of any malware exploits. This solution does not write anything to your hard drive (unless you really force it), so there is less risk of your private keys being retained on the PC to be recovered by someone else later.
Ubuntu and TAILS
While Ubuntu is not necessarily the ideal Linux-based OS to use for this high-security purpose. It is, however, the easiest, so for moderate-value amounts and for learning exercises, it may be an appropriate choice to get you started. TAILS is a security-focused live boot environment made for high-security tasks (such as handling larger quantities of BTC). We have provided an equivalent guide for TAILS which you can optionally follow if that is a closer match for your skill and requirements.
Ubuntu 16.04 LTS
This guide is for using the Ubuntu 16.04 LTS release images, which will be supported by Canonical until 2021. Even if Ubuntu 18.04 LTS is available, consider using 16.04 since the default software is more proven and stable at present. A reason to use an Ubuntu 18.04 LTS image is if you have very new PC hardware that may not be supported by 16.04.
What You Need
You need a PC or laptop that meets the minimum system requirements for running Ubuntu. It is okay if this PC has a different normal use with a different OS installed (e.g. this could be your daily Windows PC) since the live session we will be running is only temporary and will not affect the underlying OS.
Apple Mac
Running a live-boot Ubuntu session on a Mac is possible, but this guide is not explicitly catering to it. Some disadvantages of running Ubuntu on a Mac is getting Mac input peripherals (keyboard, trackpad), etc working properly.
DVD Burner
For better security, it is best if the PC has a DVD drive that can burn discs. You will also need a blank DVD and a drive to write out the OS image to it in preparation. If you don't have an optical drive, you can still boot Ubuntu like this with a USB flash storage drive.
USB Drive
A USB flash storage drive is, however, a slight compromise on security since the USB flash storage can be compromised in more ways than a DVD. It is also a piece of storage that can potentially be written to (unlike a DVD). If you are going down the USB flash storage drive route, you will need a drive that is of at least 2GB capacity. Any previous data contents of this stick will be overwritten by this process. We do recommend purchasing one brand-new for this purpose to help ensure that it has not been previously compromised by malware.
Setting up the Ubuntu 16.04 OS image
There are much better guides for doing this that are tailored to your existing OS setup than could ever possibly be written here.
Overview
The basic story is that you first download the Ubuntu 16.04 LTS desktop installation ISO and burn/copy it onto the DVD/USB disk/drive. Make sure you download the desktop version. Unless you have a particularly old computer, you want to download the 'amd64' version. At the time of this writing, the most likely ISO that you want is this one, however, do make sure to seek out the latest version of 16.04 LTS from the official Ubuntu sources.
DVD
If you are setting up live DVD, you can follow the guide for starting with Windows, Mac or Linux.
USB Drive
If you are setting up live USB stick, you can follow the official guides for starting with Windows, Mac or Linux.
Booting into an Ubuntu 16.04 Temporary Session
This is an exercise in getting your PC's BIOS to boot off of the DVD or USB stick rather than the connected hard drive that has Windows on it. It varies based on your exact hardware, so if you are not experienced with PC building and maintenance, getting hung up here is common. The Ubuntu community guide is a good starting place for help and there are plenty of other resources available online.
BIOS Menu
You may need to watch your BIOS closely when it boots to see if there are instructions for opening the BIOS menu in the text that briefly appears. If that fails, you can try using Google with your laptop' or PC's model number and the words BIOS boot from DVD or BIOS boot from USB and hopefully you can find some specific instructions. If this is a custom-built PC, the motherboard's model number is what you should search on. Also, the motherboard's printed manual might offer some help.
Disconnect Main Hard Disk
If you are still stuck, you can try physically disconnecting your other drives, such that it has no other option but to boot off of the DVD or USB stick. Since we are not installing an OS, this is fine as long as you remember to re-attach it to make the underlying installed OS functional again once we are done.
Booting Ubuntu
Once your computer successfully starts booting off the Ubuntu drive, you will see loading screens and it might take a couple minutes to complete, so be patient. When it finishes, you will see a screen that looks like this:
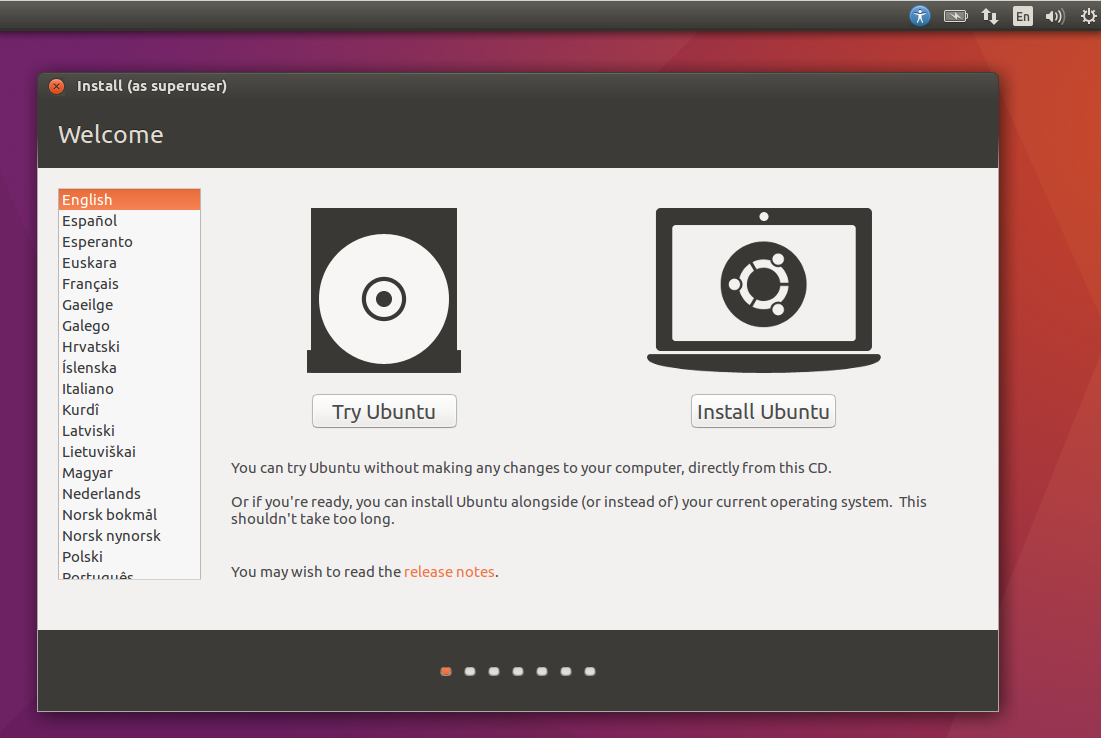
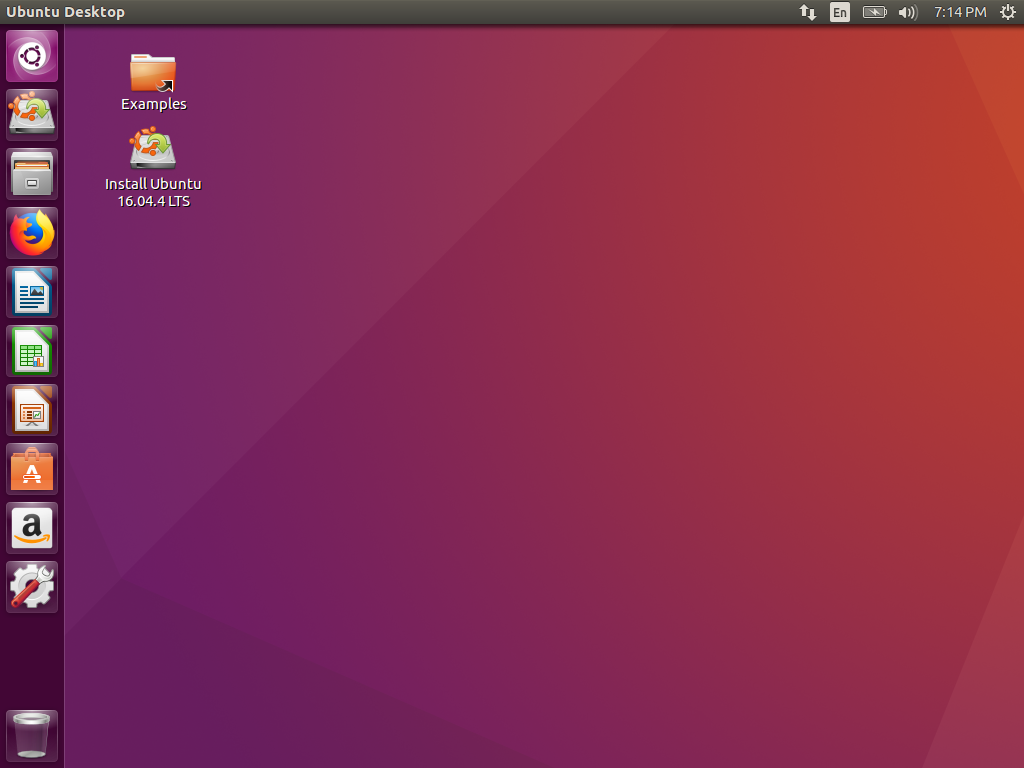
Since we are not planning on installing and we just want to use this temporarily, we choose the Try Ubuntu option. When it is finished booting, you will see the desktop and a pop-up with some hotkey tips. You can dismiss the pop-up,
and you should be looking at a blank desktop:
Go Online
Depending on what you are intending to do, it is likely you will need to connect to the internet. The network control and status monitor is on the panel on the top right:
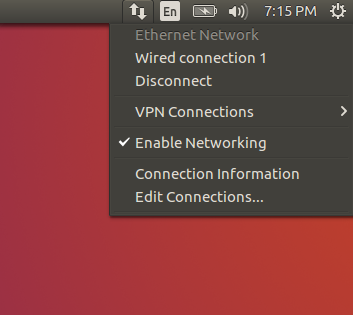
Using Wi-Fi
If you are connecting to WiFi, there should be a list of networks you can select and you can follow the dialogue to enter the appropriate password.
Opening Up The Terminal
Since we are doing high-security operations, it always comes at a trade-off with convenience. There are no easy to read graphical menus for many of the custom tasks involving Bitcoin keys, so we have to roll up our sleeves get into the Terminal.
Minimize Online Activity
Navigating to lots of web sites can potentially be tracked by external parties. Potential vulnerabilities can be avoided by using only the minimal amount of tools to obtain the exact software you need. We'll be using the Ubuntu package manager, Python package manager and Git. This guide will help you along the way with screenshots and you will get the hang of it with a bit of practice.
Launch Terminal
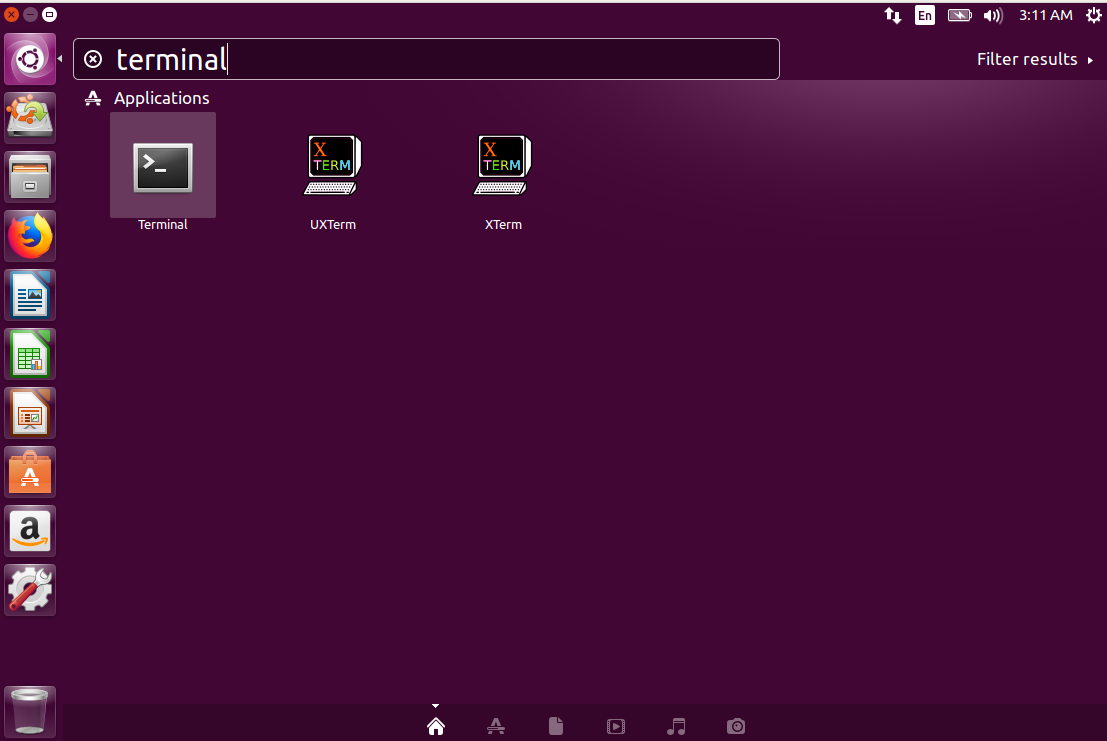
We start by launching Ubuntu's Terminal application. We can do so by first clicking on the main menu in the top left corner. Once it is opened, we can just type terminal in the search box and it should come up like this:
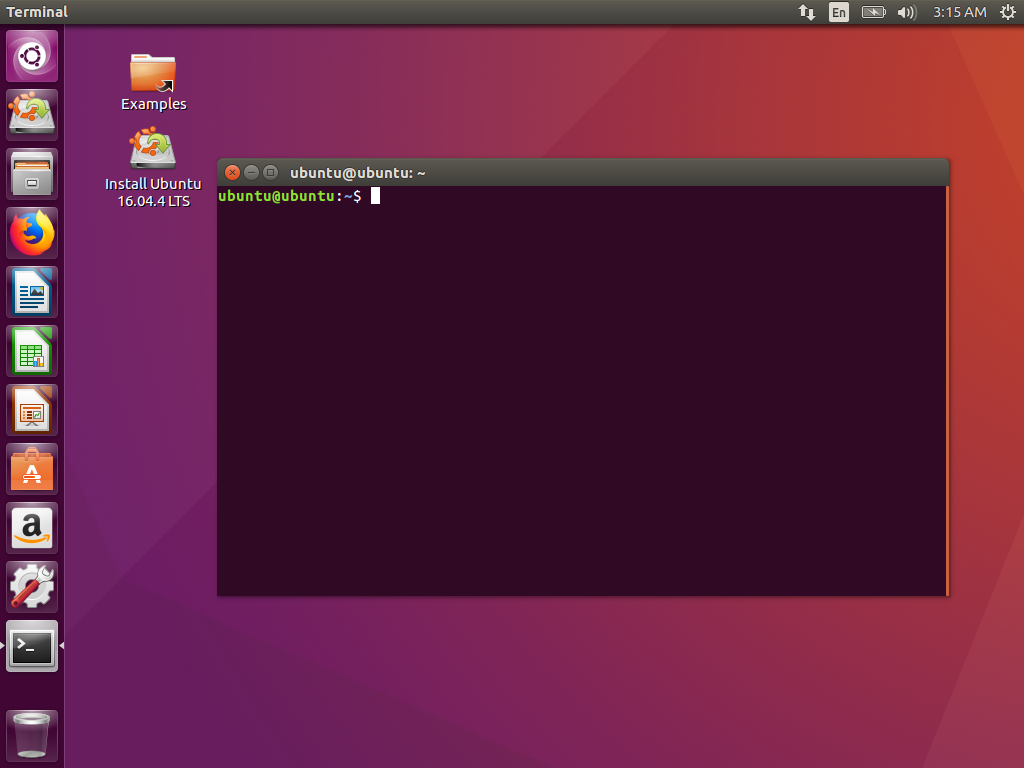
If we click on the Terminal application icon, it should open appear on the desktop like this:
Installing Additional Software For Bitcoin-Related Tasks
Update Ubuntu Software
This is a temporary session so, by design, anything you do will be lost as soon as this machine reboots. However, this does not prevent us from installing software to use within the session. Before we can do that we must synchronize with Ubuntu's online free software repository.
We can do that by typing the command into the terminal like so:
sudo apt-get update
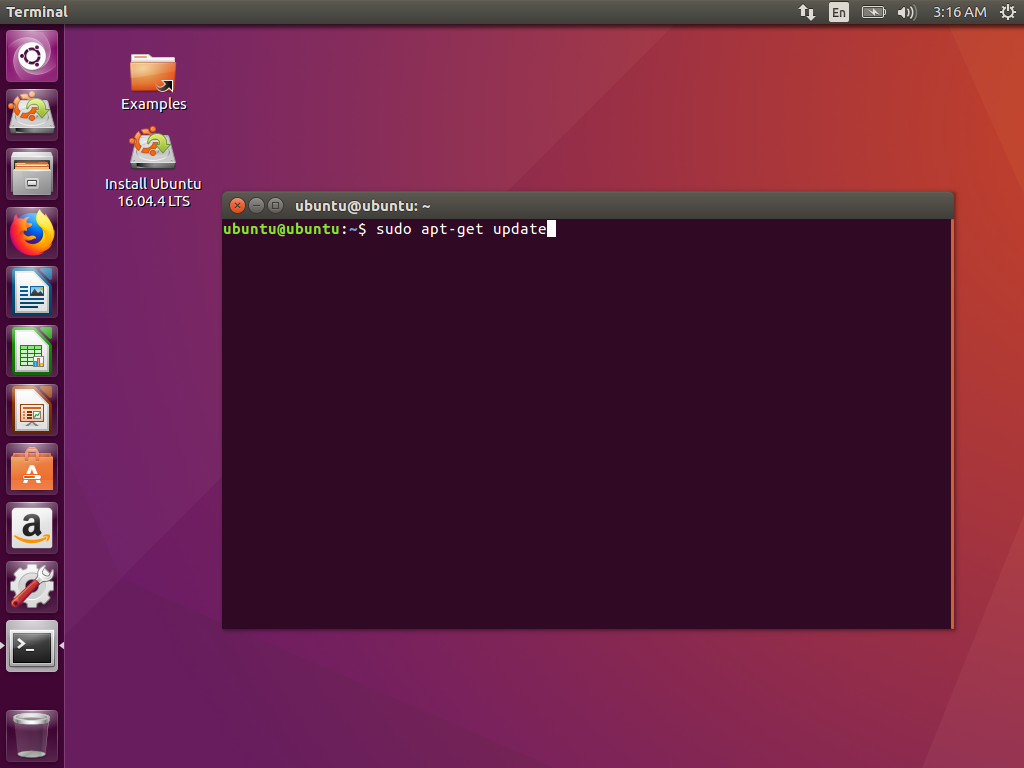
Running the Update
When you press Enter, it will connect to the official Ubuntu software repositories and synchronize information about all the latest free software packages that are available.
When it is done synchronizing it will look like this:
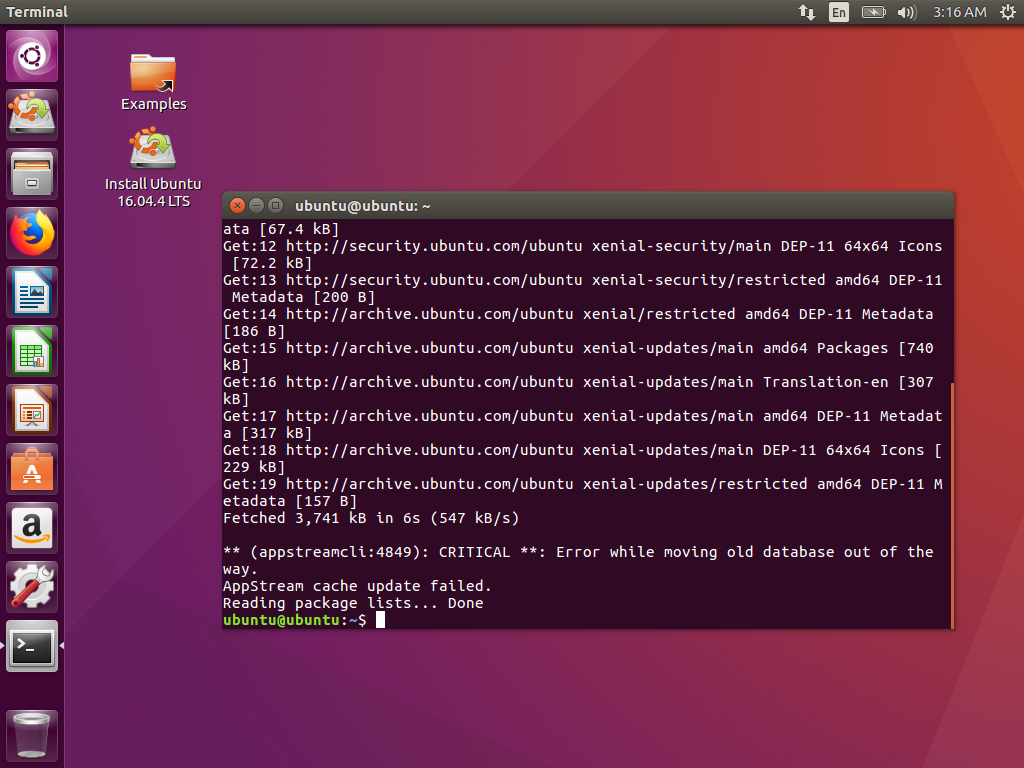
Good Errors
The CRITICAL and AppStream cache updated failed warning at the end is expected and not a problem. This message is saying that it is unable to permanently write this update to disk, which is exactly what we want for a
temporary live boot session.
Get Git
One of the more important utilities you will need to access specific Bitcoin-related software is Git.
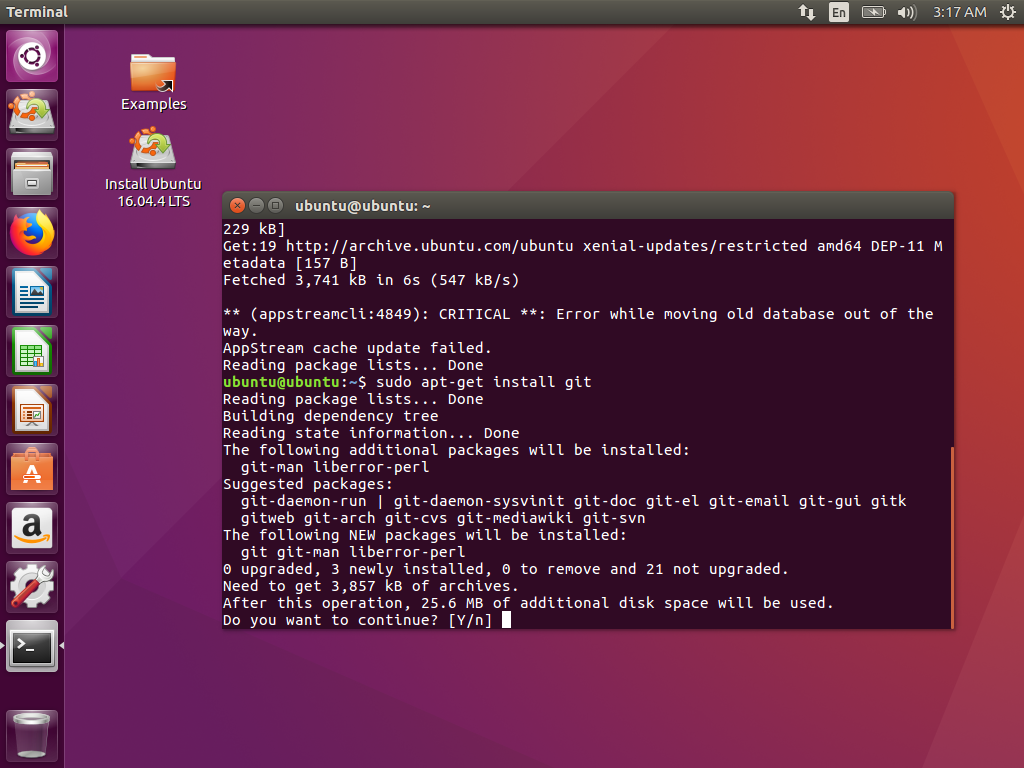
We can download and install it from the Ubuntu repository by typing into the terminal:
sudo apt-get install git
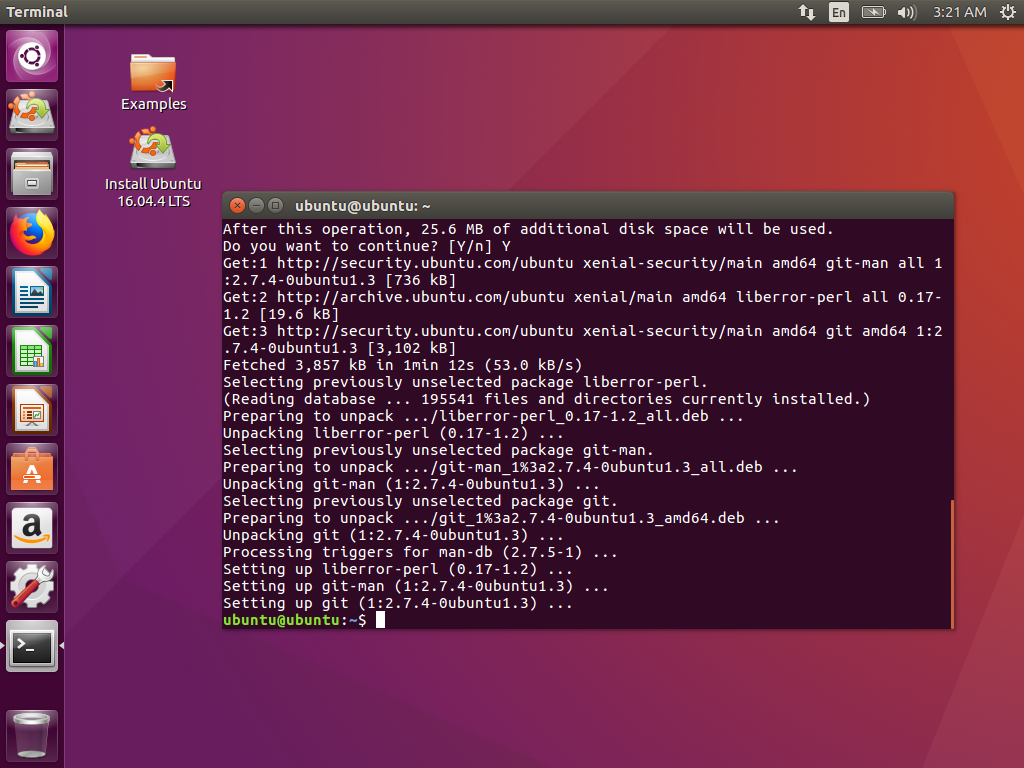
Then press Enter. To confirm the install, it will ask you to press:
Y
When it is complete your terminal should look like this:
What Now?
If you have made it this far, congratulations! We are now set up to get into some deep Bitcoining. We have several guides that build off of this and show you some specific tasks that you can get done in your temporary Ubuntu live session:
When You Are Done
The beauty of a temporary live boot session is that as soon as you reboot your PC, it won't retain any memory of what you were doing. When you are done, shut down and remove the DVD or USB drive. If you disconnected the normal hard drive, be sure to reconnect. Your PC should boot back up normally.